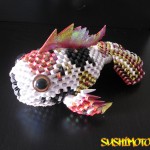
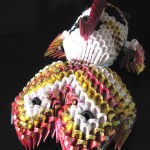
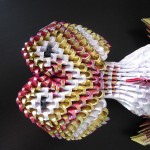
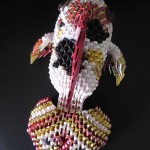
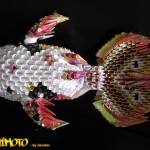
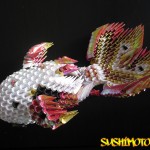
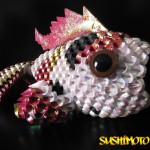
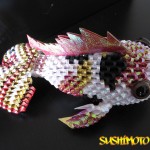
Hi Everyone! Meet my latest creation. His name is Sushimoto! I’ve been wanting to create a 3D Origami Koi for the longest time. I did weeks and weeks of research and I found that I really wanted my piece to look like a fancy tail goldfish mixed in with the color scheme of a koi. I really like how some calico koi fish have the awesome blending of colors. I like how the red, black and white get mixed together; I also added gold to my koi.
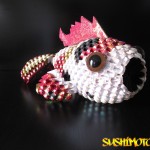
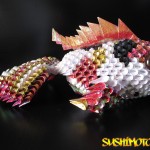
I started with a 12 piece base. It started off with the first row consisting of 12 pieces and 4 pins. 2nd row is 12 pieces. 3rd row is 16 pieces and 4 pins. A pin is a flat point piece that will increase each row by 1 piece. If you add 4 pins you increase by 4 pieces. Ultimately on the 6th row I ended up with 20 pieces per row for the body until the end. The tail was the HARDEST part because I didn’t have a cool pattern for it. But then Jewellia7777 came out with a tutorial on how to do a 3d origami koi fish and I learned from her. Thanks Jewellia7777!!! Her Koi tutorial is one my favorite tutorials of all time.
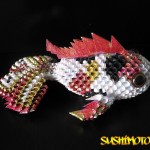
Enjoy!! ~Jaxster